
Brow pens are often seen as the best way to fill in sparse brows or just give your brows more definition, but many who have tried them find brow pens harder to use than pencils or gels. Luckily, this step-by-step guide on how to create natural looking brows with a brow pen will teach you everything you need to know about this handy makeup tool, from how to choose the right shade for your hair and skin tone to the best way to apply it. You’ll be adding natural looking definition in no time!

Why Amaze Brow Trio?
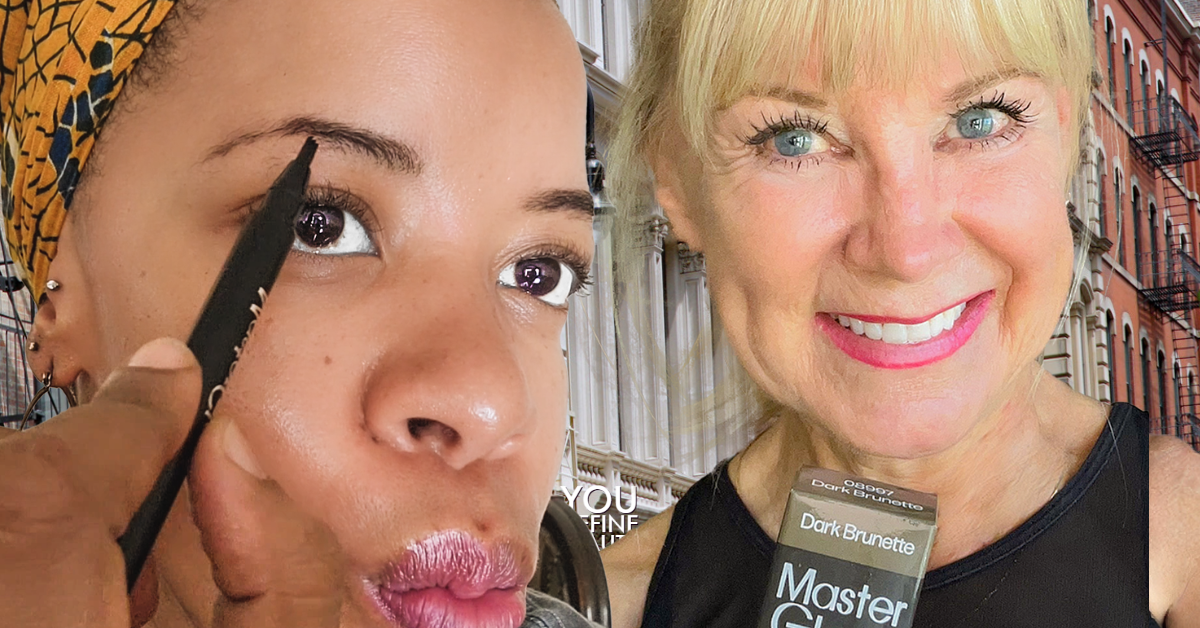
At Master Glam, we pored over thousands of reviews from competing brow pen brands on Amazon in an attempt to understand our customer's unique pain points and how we might be able to solve them. One recurring theme that we have seen across all brands is that it is somewhat difficult to achieve natural-looking results that don’t look overdone or like they were drawn on with a sharpie. Our product development team incorporated these key pieces of user feedback into our latest cycle, building and launching a superior brow pen called Amaze Brow Trio Brow Pen with Enhancing Serum. Our brow pen is not only formulated with peptides that encourage the natural production of keratin but also uses sheer, buildable pigments that look more natural than other brow pens when applied.
Step One) Clean Your Brow Area
Before filling in your brows, it’s important to clean up any extra product that might have fallen onto your forehead or temples. If you have any leftover foundation, concealer, or other eye makeup on your face, wipe it off before you proceed. You don’t want it bleeding into your brow area and creating a less than natural look.
Step Two) Map Out Your Brows
Before you start applying product, take some time to map out your brows. First, decide where your brow should begin and end.
First, you should map out where your brows begin. The edge of the brow should be just a few inches directly above either side of the nostril.

Next, you are going to map out the curvature of your brow by figuring out where the highest point of your brow should be. It should fall directly from the edge of the nose through the pupil.

Finally, map out the end of your brow. It should end from the side of the nostril past the outer corner of the eye

Step 3) Use Light strokes
Amaze Brow Trio creates precise strokes when light pressure is applied in a flicking motion. This can be difficult to achieve at first. Don’t give up! It takes time and practice, but once you master using your Amaze Brow Trio brow pen, you’ll look like a pro. Make sure that you take the time to map out your brows so that you are able to visualize where your brow should start and end. Try your best to make sure one side is not higher than the other.
*PRO TIP: If you have trouble getting the pen to run at first or if its too blotchy, try a few practice strokes on the back of your hand or arm. One of the golden rules of makeup is making sure that you are always using just the right amount of product.
*PRO TIP: Store tip-side down for best results.
*PRO TIP: have a cotton-tipped swab and micellar water handy in case you apply too many strokes, or if you want to tone down your brow look.